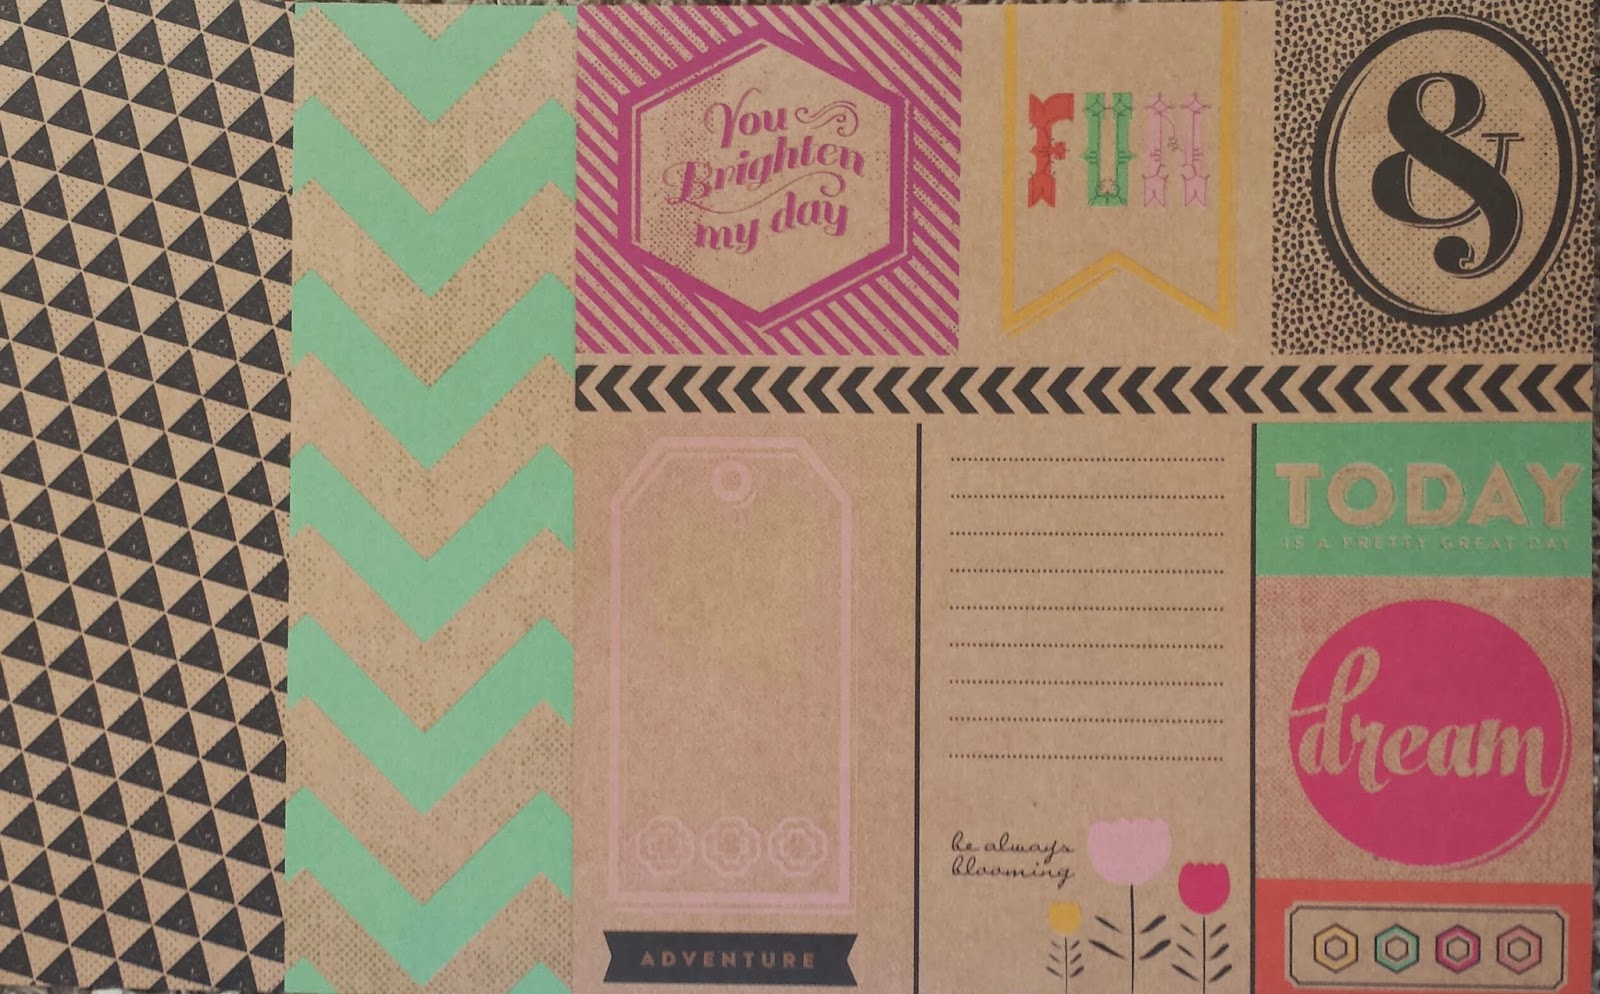
Craft Smith's ~ Type Craft ~ paper pad is full of
happy*bright*cheerful
colors and designs!
It's just the thing for a quick mini or organizer.
happy*bright*cheerful
colors and designs!
It's just the thing for a quick mini or organizer.
Here's a great tutorial that only requires three 12x12 papers. It's all about pockets, a super functional binding,
and having FUN with paper!
and having FUN with paper!
Supplies
3 sheets of Paper including the Journaling Cards
Twine:2 pieces at 25 inches, 1 piece at 10 inches
Adhesive
Brads
Binding and Base
Cut three pieces from this sheet.
The base will be 4.5x6.75
Crease bottom at 1.25 and fold under.
When folded the piece will be 4.5x5.5
Cut the "always blooming" journal card 3.5x5.5.
Adhere to front of base.
Cut two binding pieces at 5x5.
Crease every half inch.
Fold piece into a single strip.
Pierce every half inch.
Pages and Backing
Trim this sheet into 3 strips: 3.5", 4", and 4.5"
The 4.5" strip is the backing.
Crease it at 1.25, 1.5, 7, and 7.25.
Place the base on the backing, lining the folded end of the base up with the 1.5" crease. Pierce every 1/2 inch starting at the 7" crease.
The 3.5"strip will be three of the pages for the right side.
Cut it into the following lengths:
3.5x4.75
3.5x3.5
3.5x3
Use the following measurements to cut the
Journal cards for the right side:
The 4" strip will be the pages for the left side
and one for the right side.
Trim it into the following lengths:
4x3
4x3
4x1.75
4x1
3.5x1.75
Use the following measurements to cut the
Journal cards for the left side:
Adhere the Journal cards to the corresponding pages. Leave a half inch strip on the edge of the page for the binding as shown in the photo. Carefully place the adhesive around the edges of the cards to form pockets. Add brads to pressure points to reinforce the pockets. Line the pages up with the base, pierce the pages every 1/2 inch.
Stack the pieces in the following order:
Backing
Base
Binding
Pages, inserted between creases of the binding.
Stitch the pages to their corresponding sides
using the long pieces of twine.
%2B(726x900).jpg)
The pages are designed so that they vary in height and when folded together alternately the tip of each one is visible.
%2B(746x1000).jpg)
%2B(726x900).jpg)
The pages are designed so that they vary in height and when folded together alternately the tip of each one is visible.
%2B(746x1000).jpg)
Place a brad at either end of the backing, 1/2 inch from the edge.
Wrap with the small piece of twine to close.
Slip notes to Grandma in the pockets and photos of the kids on the backs of the pages. If you just can't bear to give this cheerful mini away use it as an organizer for your shopping lists, receipts, and coupons. Either way the majority of the fun is in making the project from Craft Smiths high-quality papers and fresh designs.
Scrap On!
~charity~
.jpg)


%2B(994x1000).jpg)
%2B(800x798).jpg)
%2B(800x745).jpg)
%2B(792x900).jpg)
No comments:
Post a Comment